Every year J and I take a trip down the coast and come back with kilos lemons from his parent's coast house. The trees are magical, they get very little love and attention but every year around August they become covered in lemons of all shapes and sizes so every year I have to come up with new ways to use lemons.
So when I saw this recipe on Evan's Kitchen Ramblings I knew I had to make something similar. I couldn't make the exact recipe as I had the intention of making these for a celiac friend and, well, pastry is gluten central.
Sure, I could have made gluten free pastry but I've tried that before and it was, to be completely honest, a disaster. I won't doubt that the issue was me but I wasn't game enough to try again.
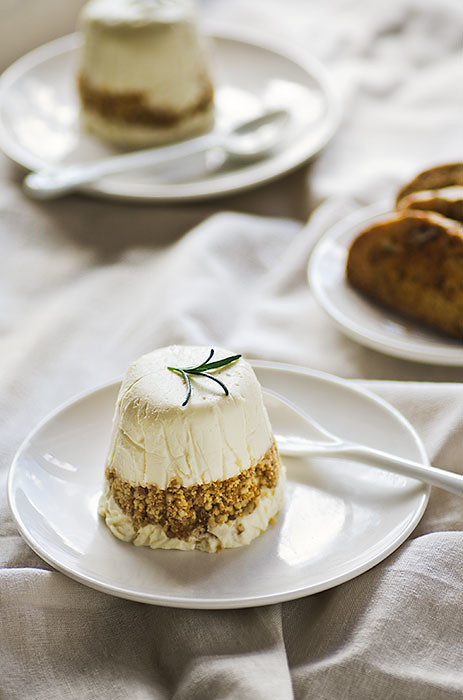
Instead I opted for a macaroon base which was perfect as it was extremely simple and an excellent way to use up the egg whites I had stashed in my freezer.
As the base is macaroon it is extremely coconut-y tasting if you don't like coconut this isn't for you. However I would definitely recommend making the filling and using it in something else as it's seriously good.
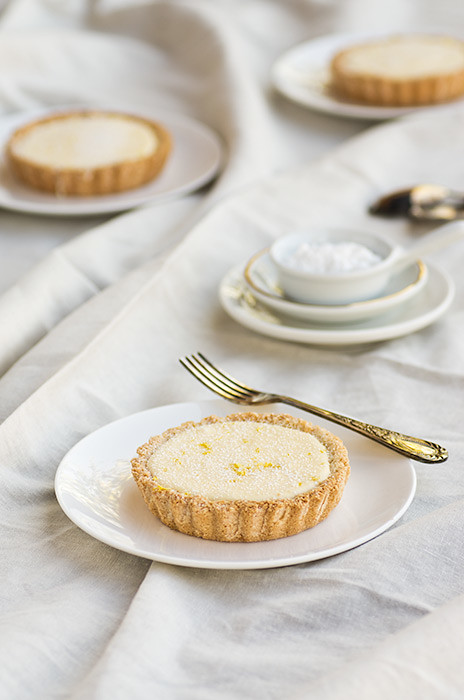
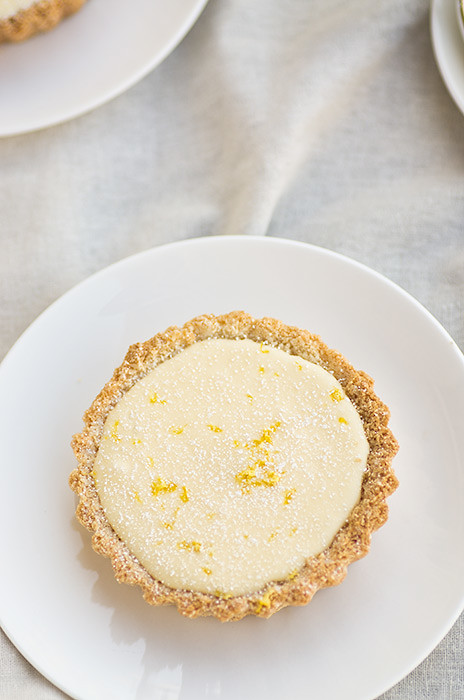
Lemon macaroon tarts
Adapted from Simple Essentials: Chocolate by and Desserts by Pierre Herme
makes six 10cm (3 1/4") x 2.5cm (1") or seven 10cm (3 1/4") x 2cm (3/4") tarts
Macaroon base
- 3 egg whites
- 165g (5 3/4oz) sugar
- 255g (7 7/8oz) unsweetened, dessiccated coconut
- Preheat oven to 140°C (280°F). Grease and line the bases of 8 10 tart tins.
- Combine the egg whites, sugar, and coconut in a large bowl. Once thoroughly mixed divide evenly between the tart dishes. Press mixture firmly over the base and up the sides, using the back of a spoon if necessary.
- Bake for 25-30 minutes or until macaroon shells are firm and lightly golden. Cool then remove from the tins.
Lemon filling
- 240g (1 cup) castor sugar
- Zest of 3 lemons
- 4 eggs
- 330ml (3/4 cup) freshly squeezed lemon juice
- 295g (10.5 oz) unsalted butter, cut into tablespoon sized pieces
- Place a saucepan of water of heat and bring it to a simmer. Combine the sugar and lemon zest in a heatproof bowl. Rub the sugar and zest together with your fingers until fragrant. Whisk in the eggs and lemon juice.
- Place the bowl over the saucepan of simmering water. Cook, whisking gently, until the cream thickens and reaches 82°C (180°F). You will see the cream turn from light and foamy in the beginning to thick and smooth as it nears the correct temperature. When the whisk starts to leave tracks the cream is nearly finished. Be patient, it could take as long as 10 minutes for the mixture to cook.
- As soon as the cream reaches the correct temperature, remove it from the heat and strain it into a blender or food processor. Cool the cream to 60°C (140°F), or for about 10 minutes.
- Working with the blender or food processor on high speed, add the pieces of butter about 5 at a time. Blend until combined, scraping down as required. Continue until all the pieces of butter are combined, then blend on high speed for another 3-4 minutes to ensure the cream is perfectly smooth.
Assembly
- Spoon the lemon cream into the cooled coconut shell. Transfer to the refrigerator for 2-3 hours or until set.